.
Now we're going to cut and sew the dress.
First make your piping following the tutorial mentioned above (in case you bought ready made piping you can skip this step, of course) .
Then sew the piping to the flap piece. You can follow this tutorial.
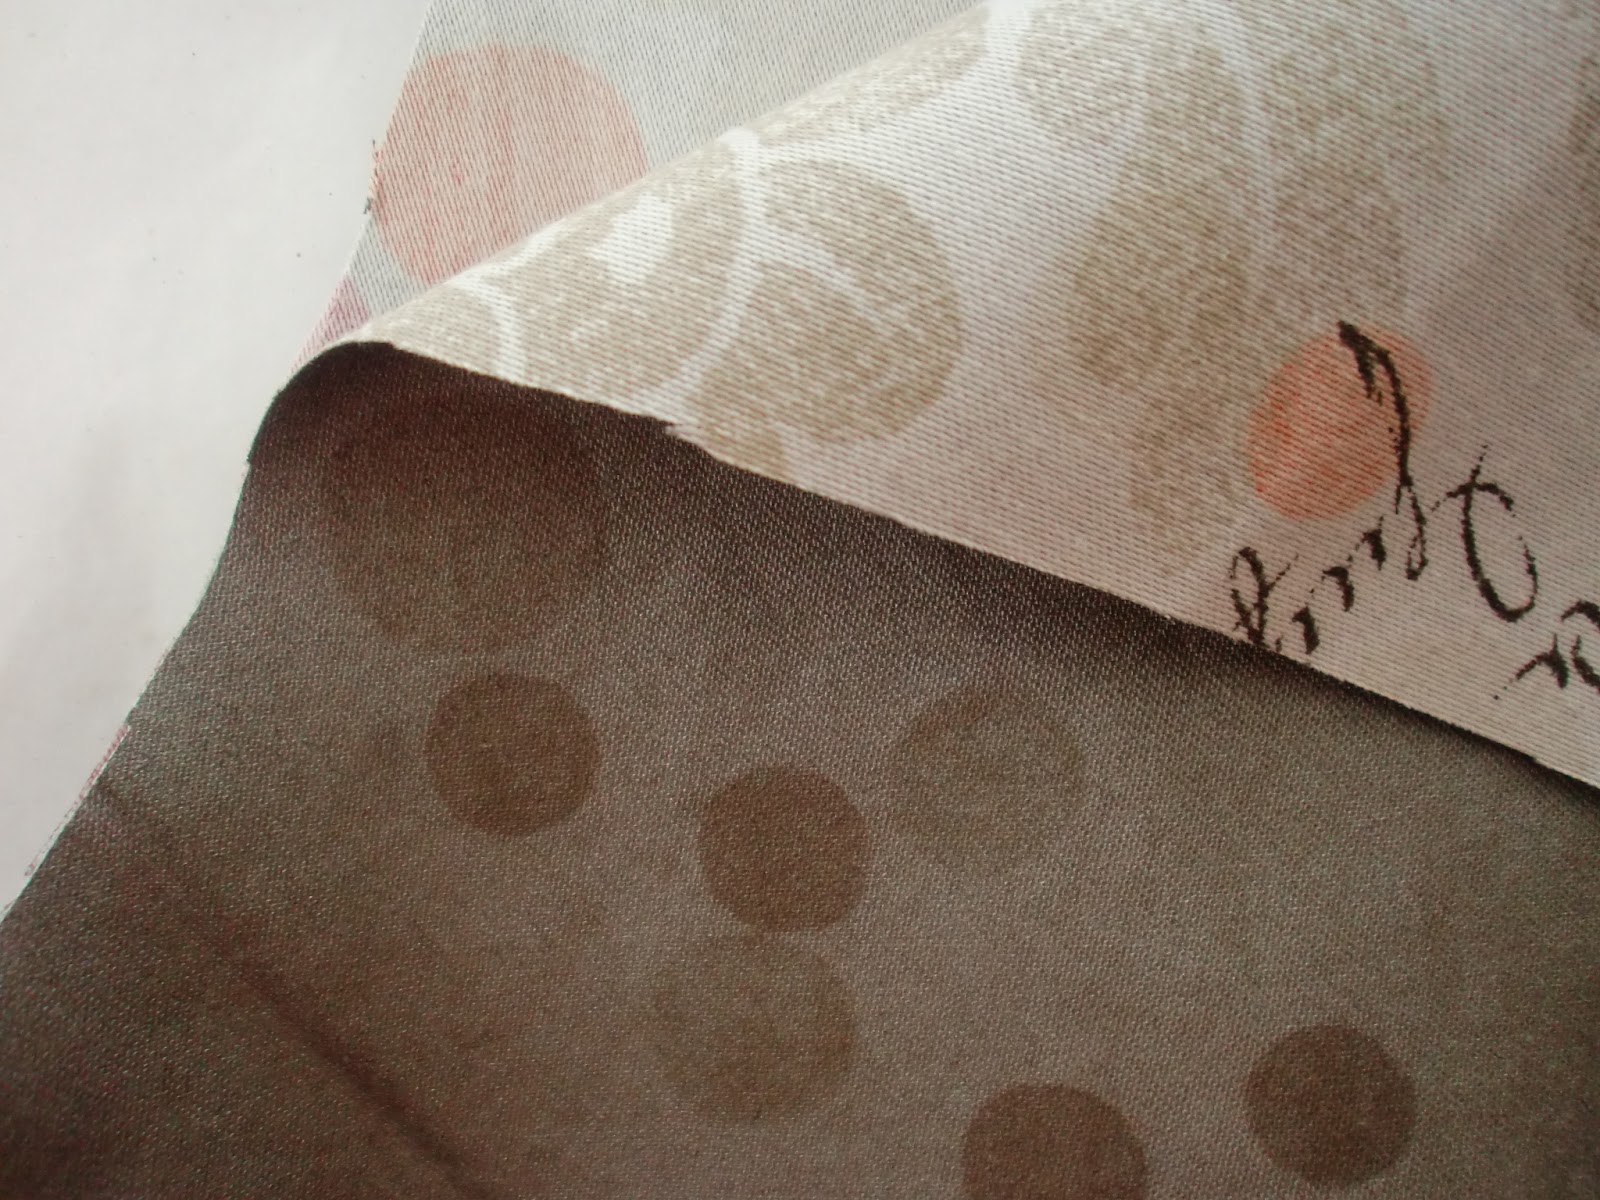
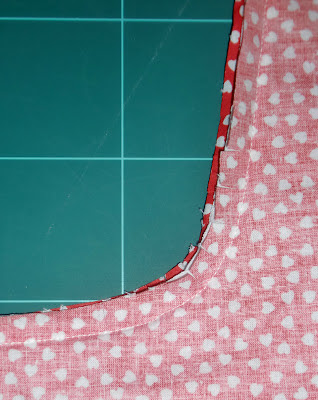
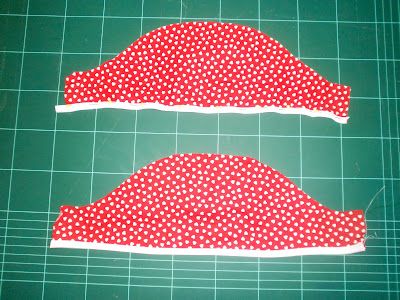
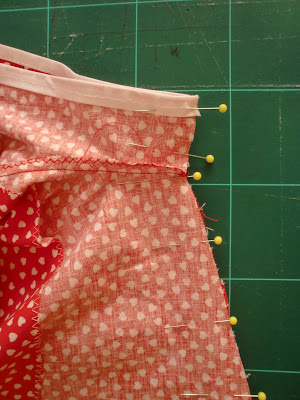
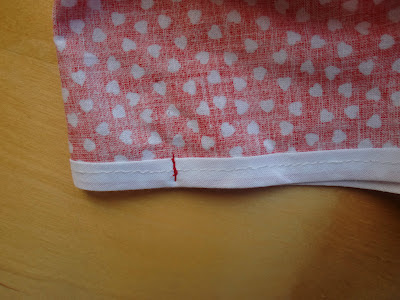
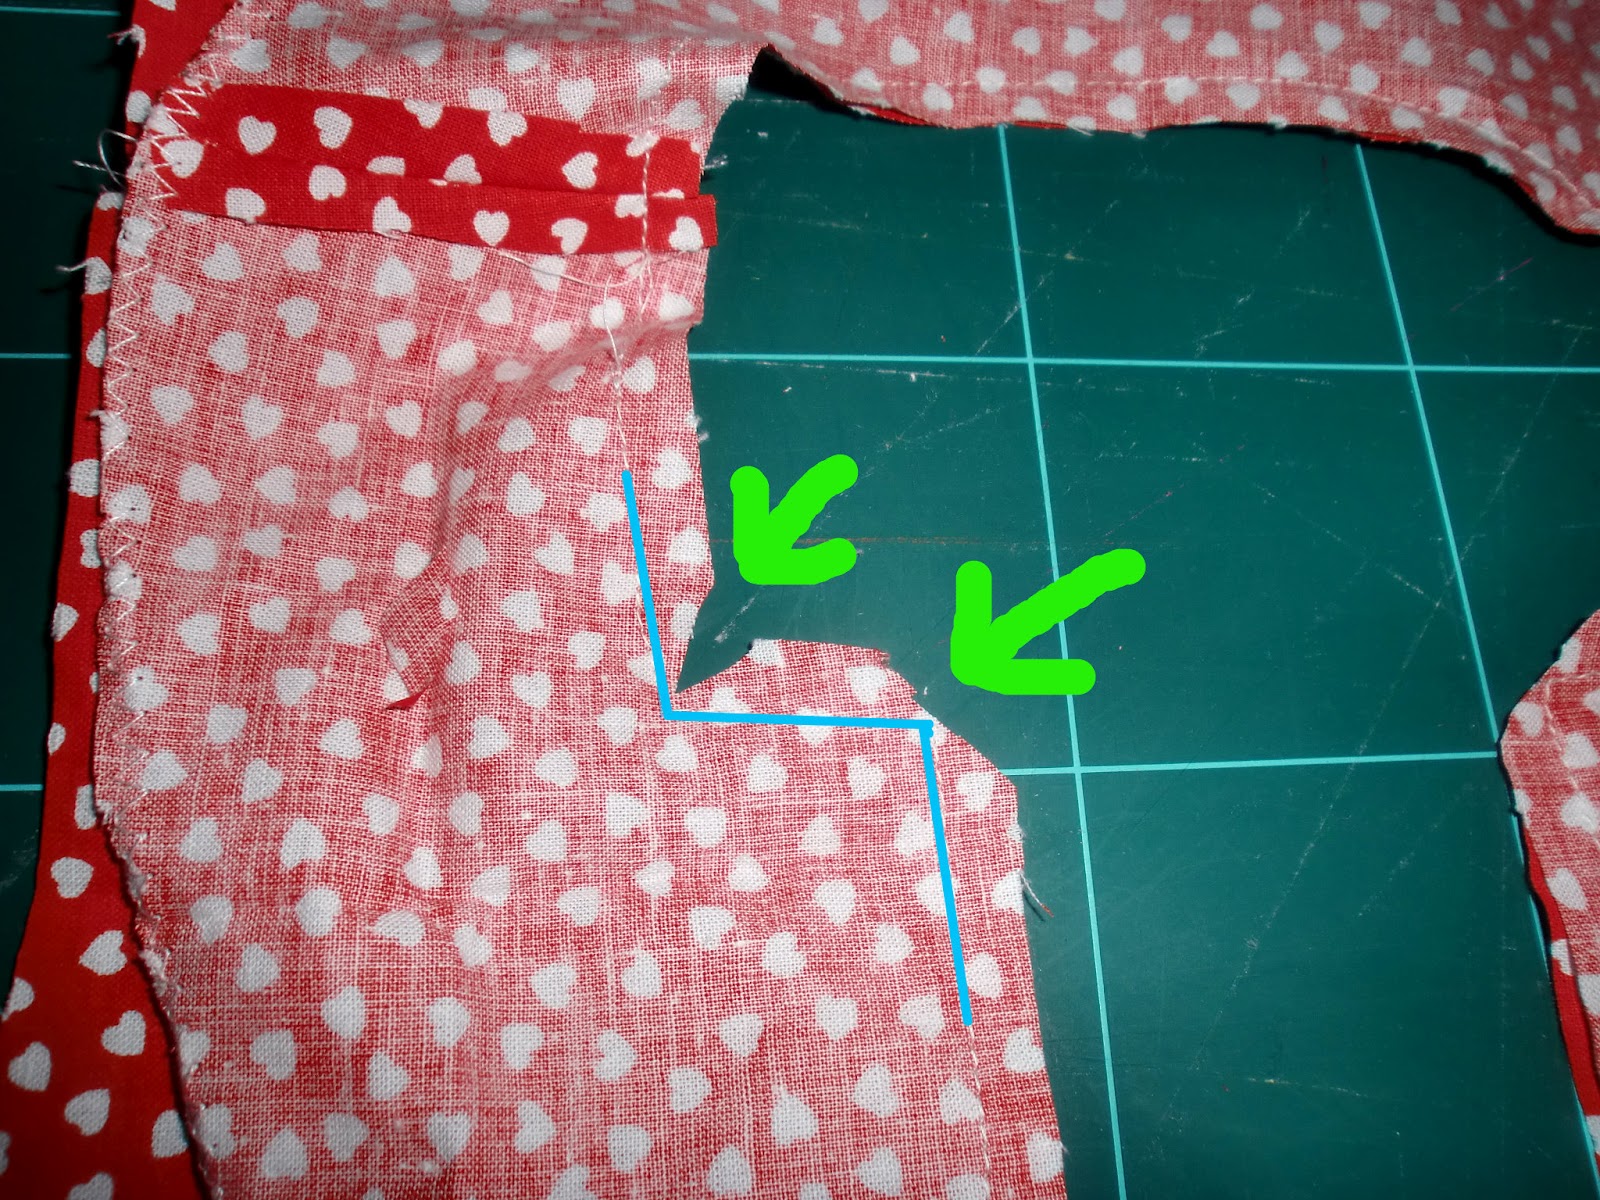
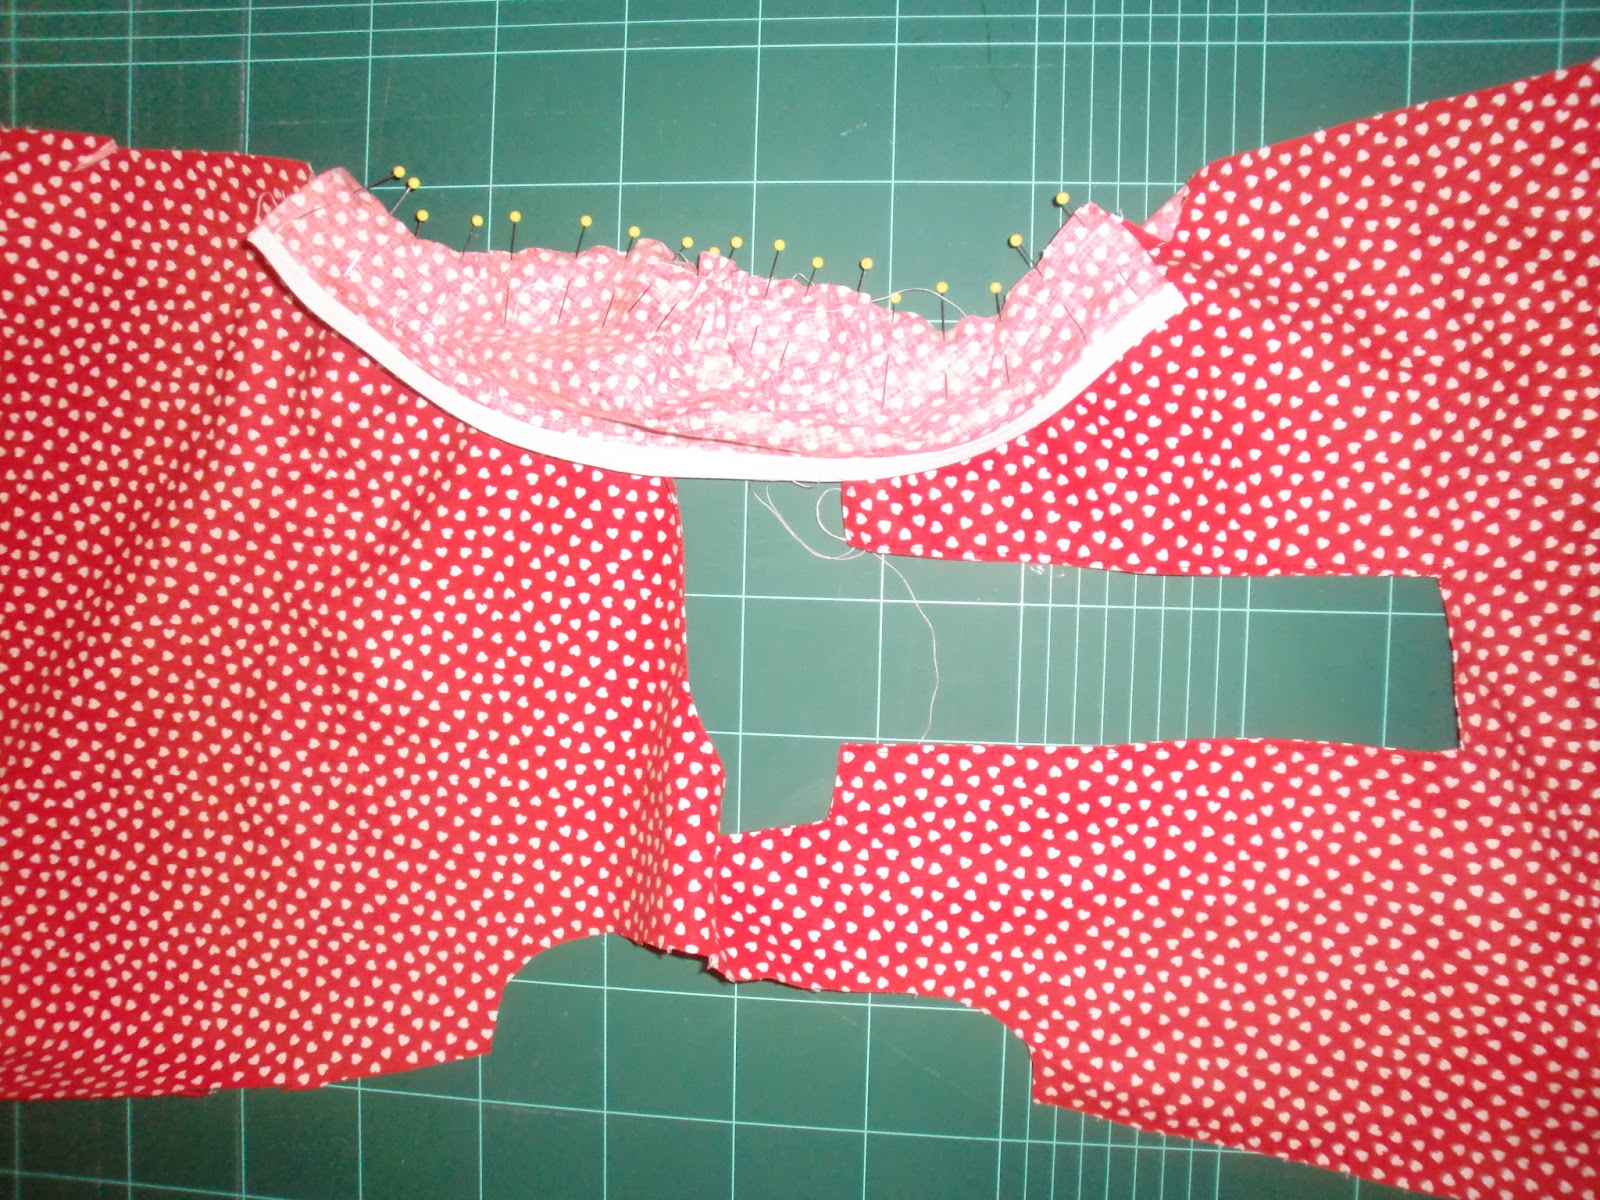
As explained in the tutorial, you will sew the piping aligning the raw edges of both the piping and the flap piece. Then clip the seam allowances of the curved edges (where indicated with arrows in the photo below).
Of course, you can skip the piping if you preffer so.
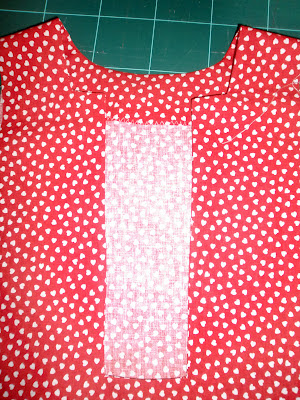
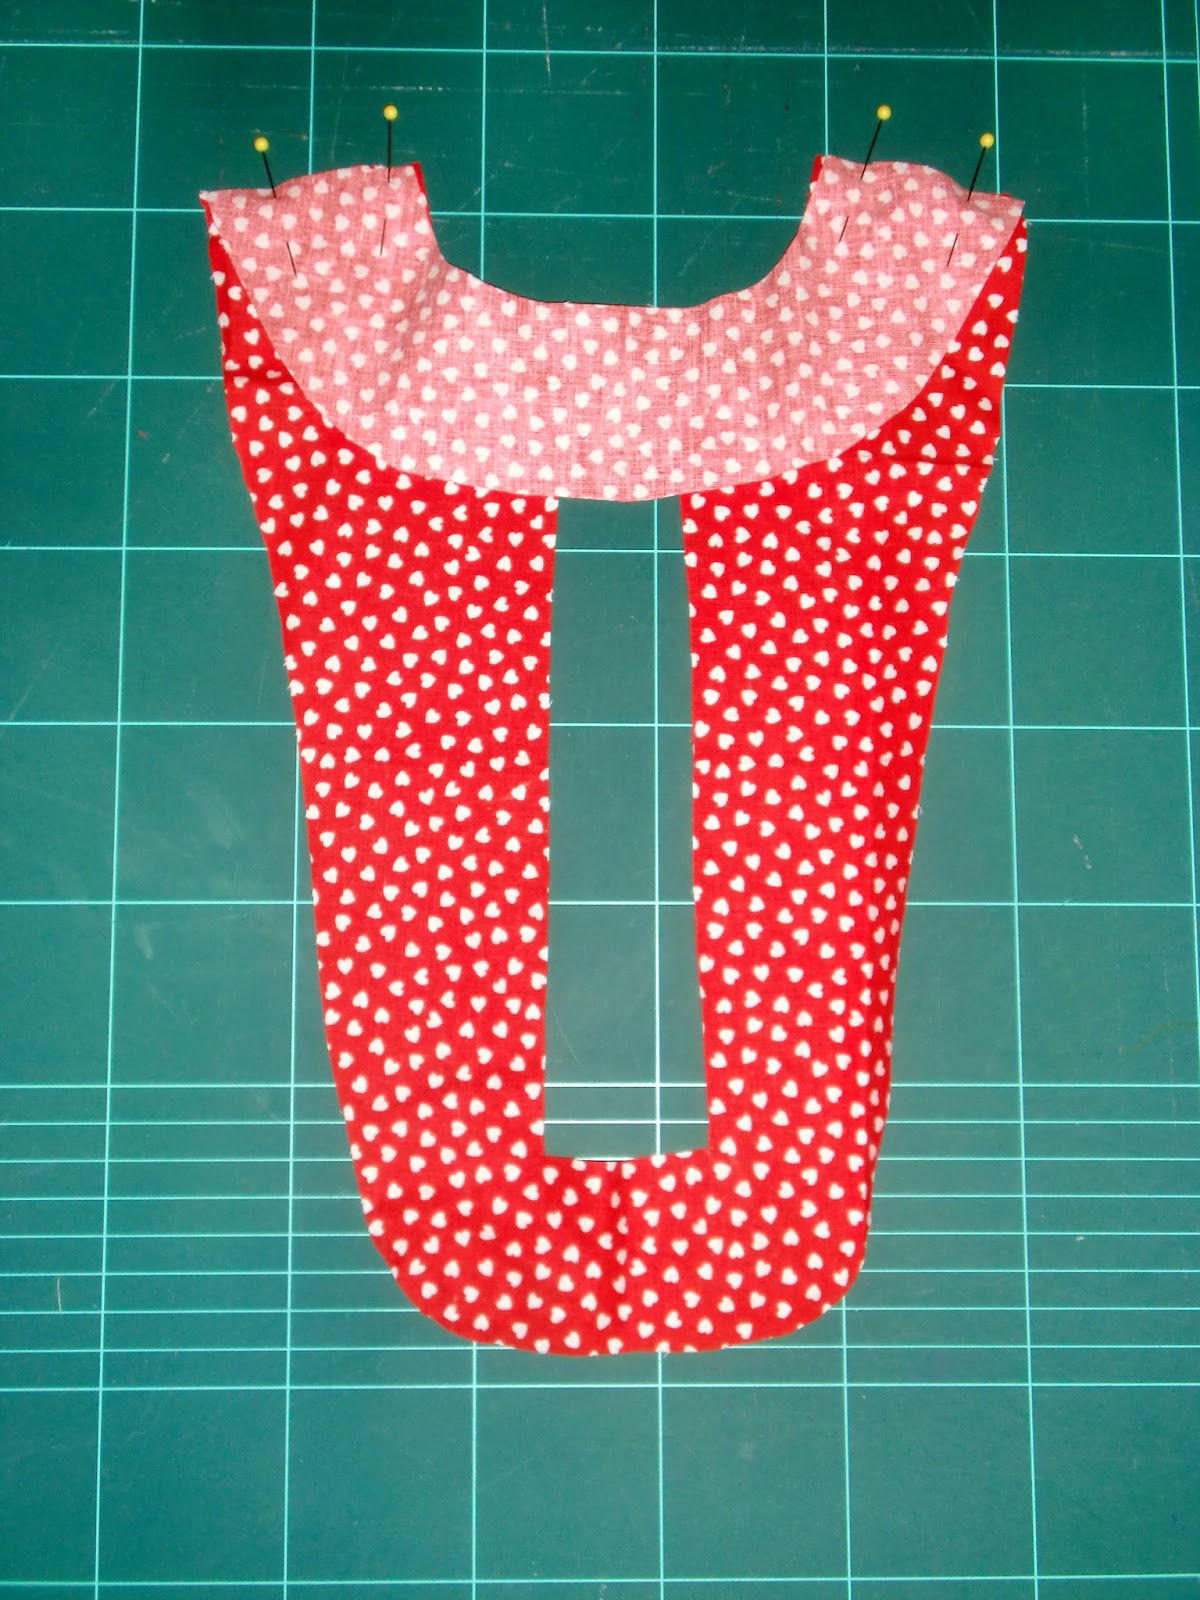
Then place the flap facing on top of the plap piece, right sides together.
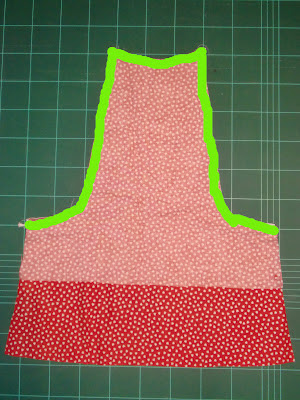
Sew along the side edges and top (neckline), as close to the piping as possible. Begin with the curved area (where you inserted the piping) (it is important not to sew the sides of the dress, which will be attached to the back of the dress), continue sewing the neckline (with no piping) and go down to the other curved side of the flap. See the green line in the picture:
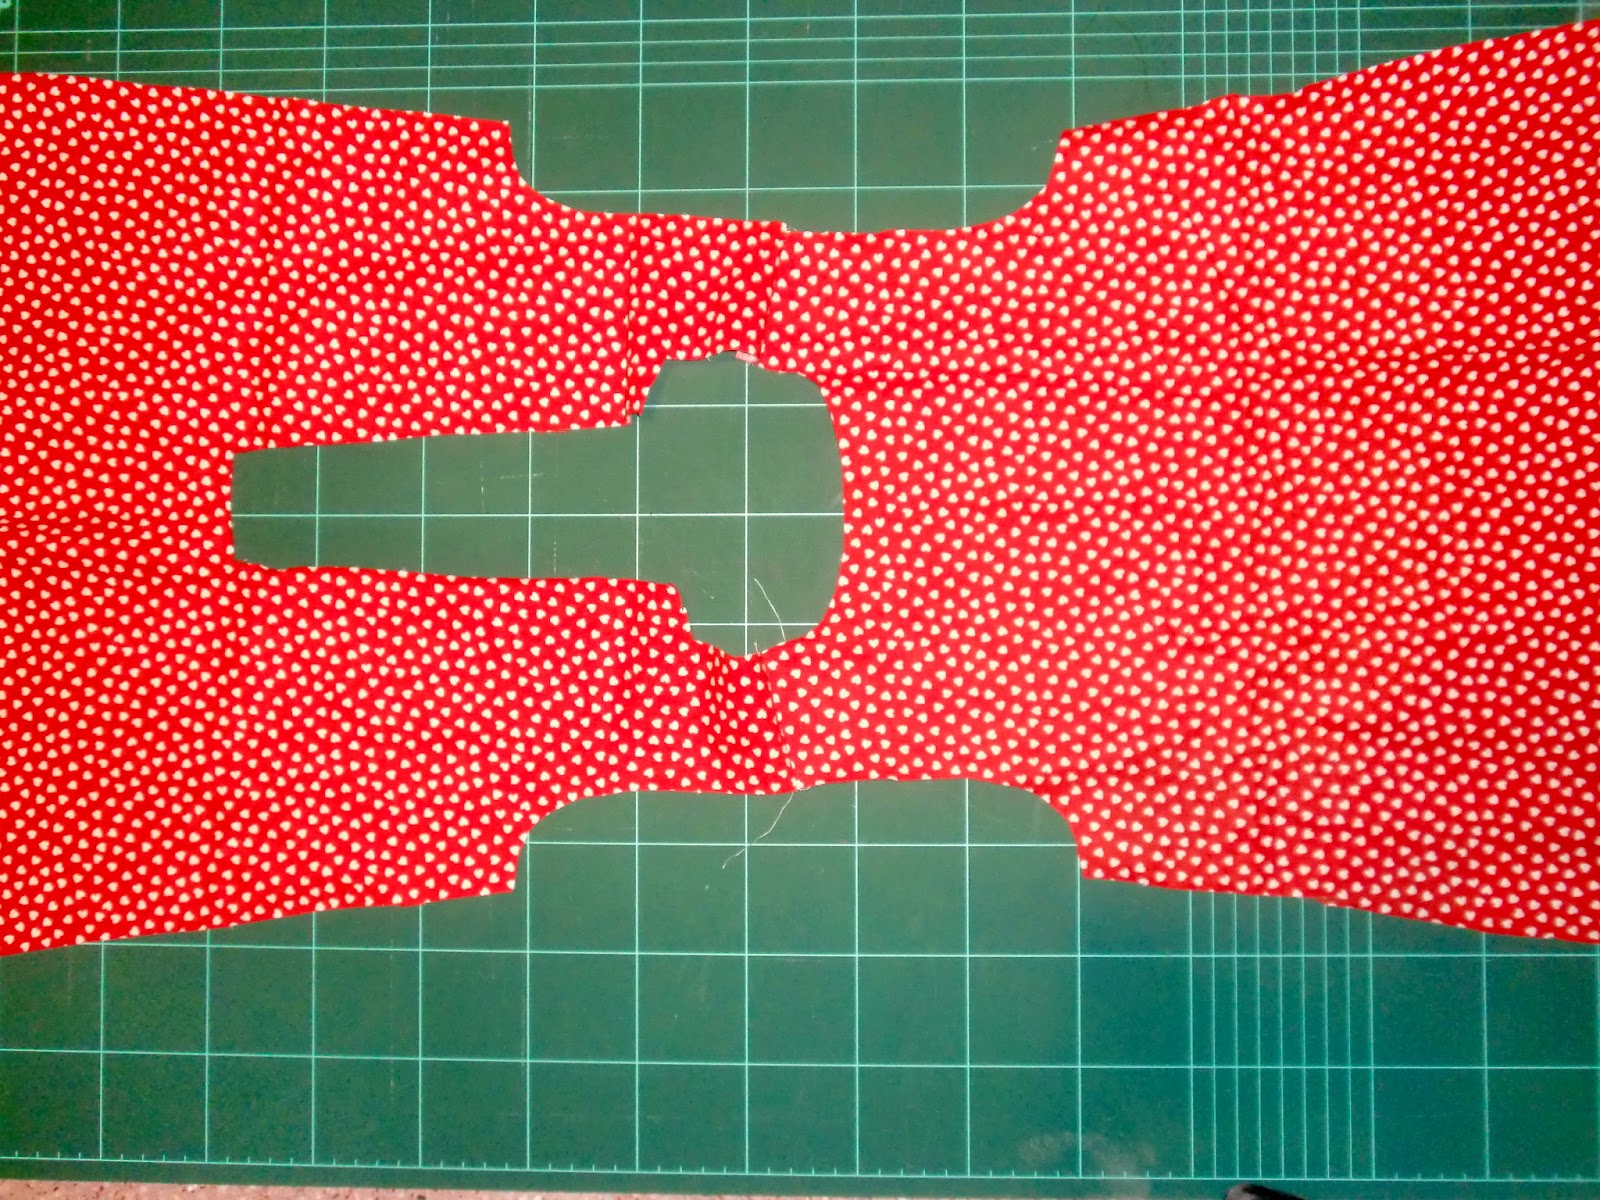
Now clip the corners of the seam allowances of the top seam of the flap and make notches to the curved seam allowances previously indicated with arrows:
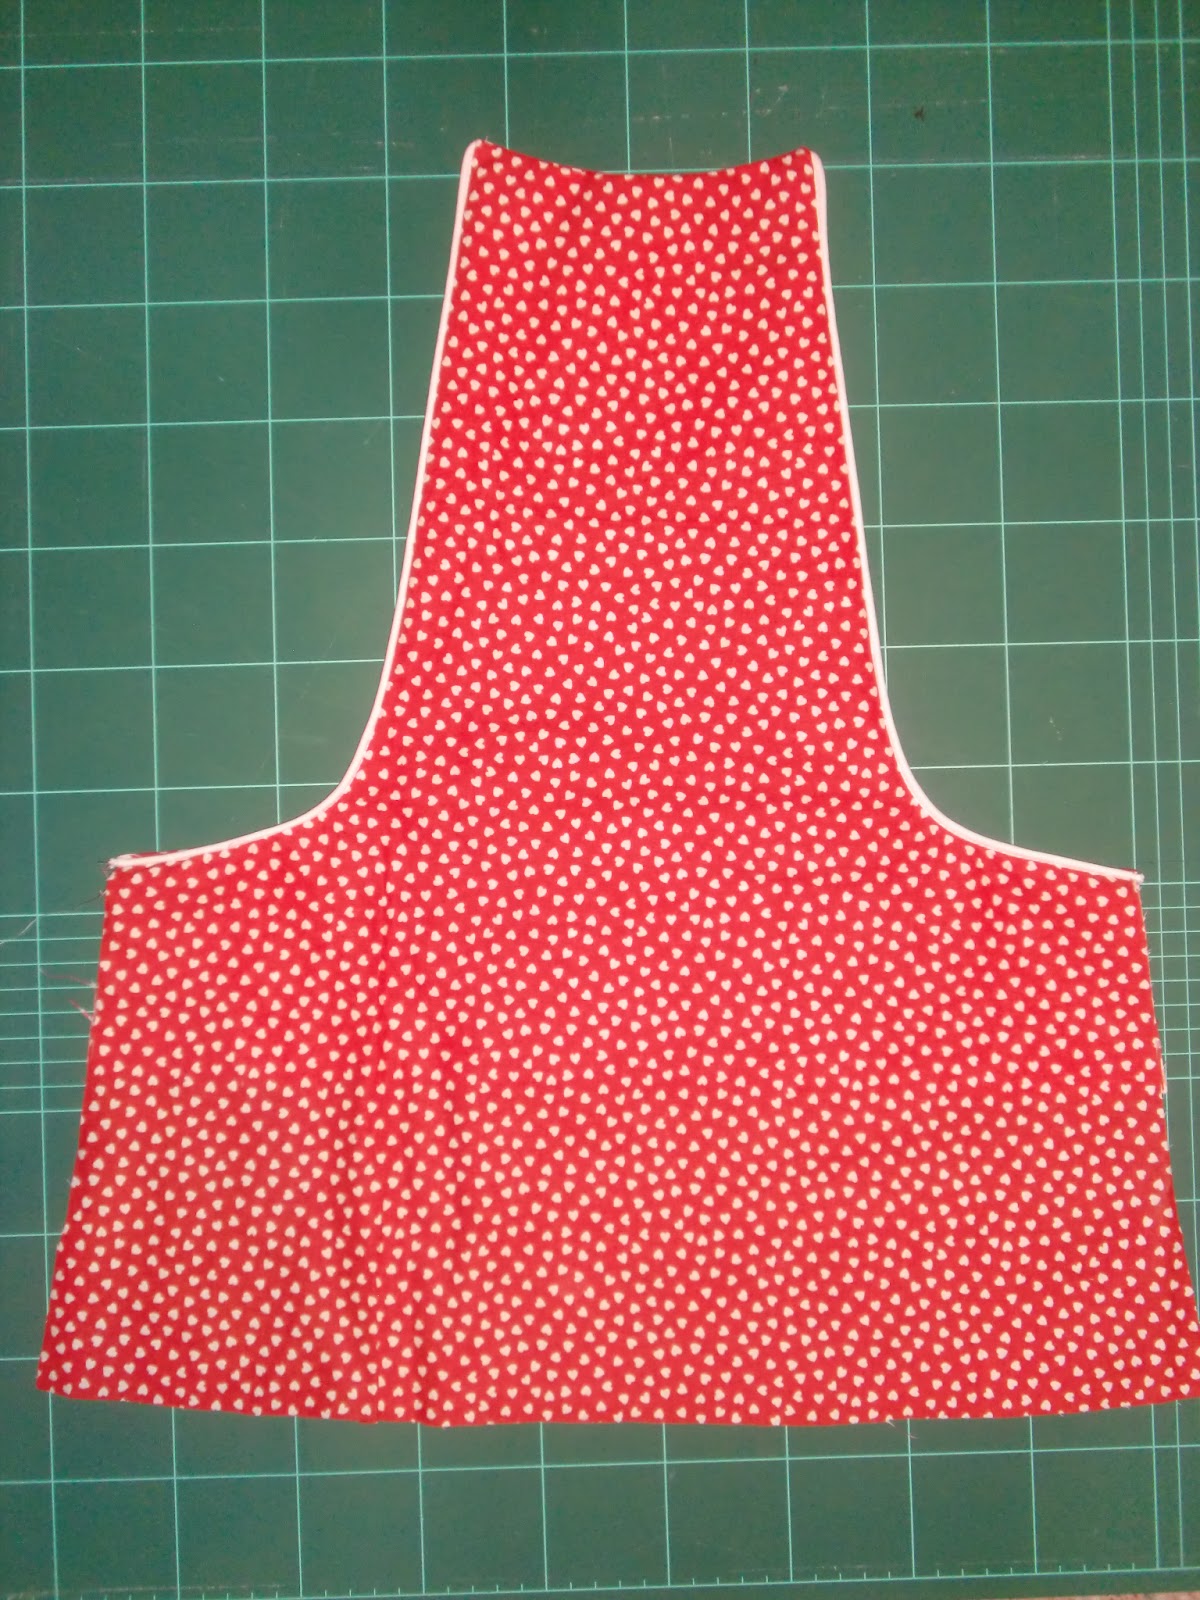
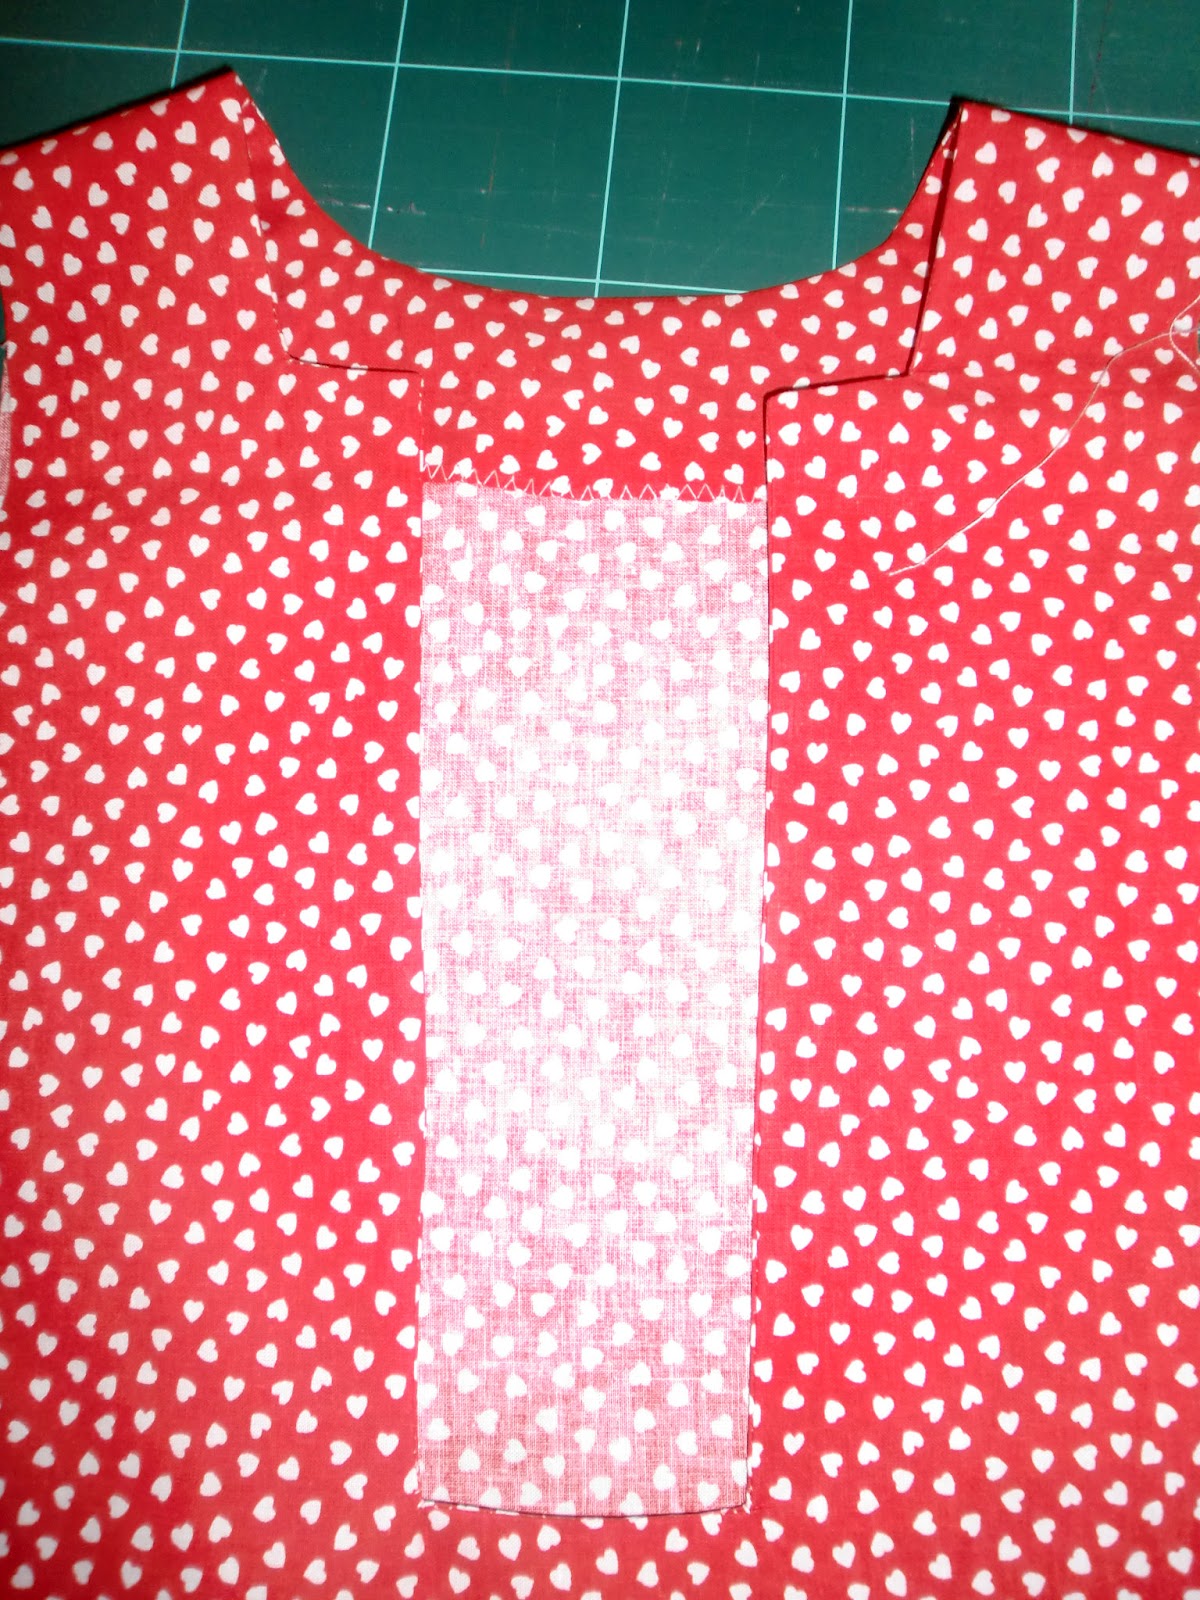
Turn right side out and press well.
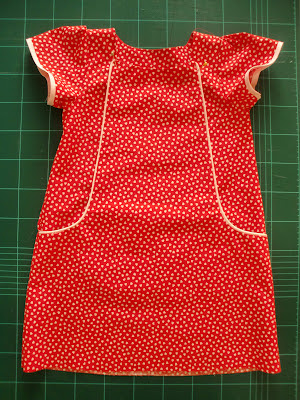
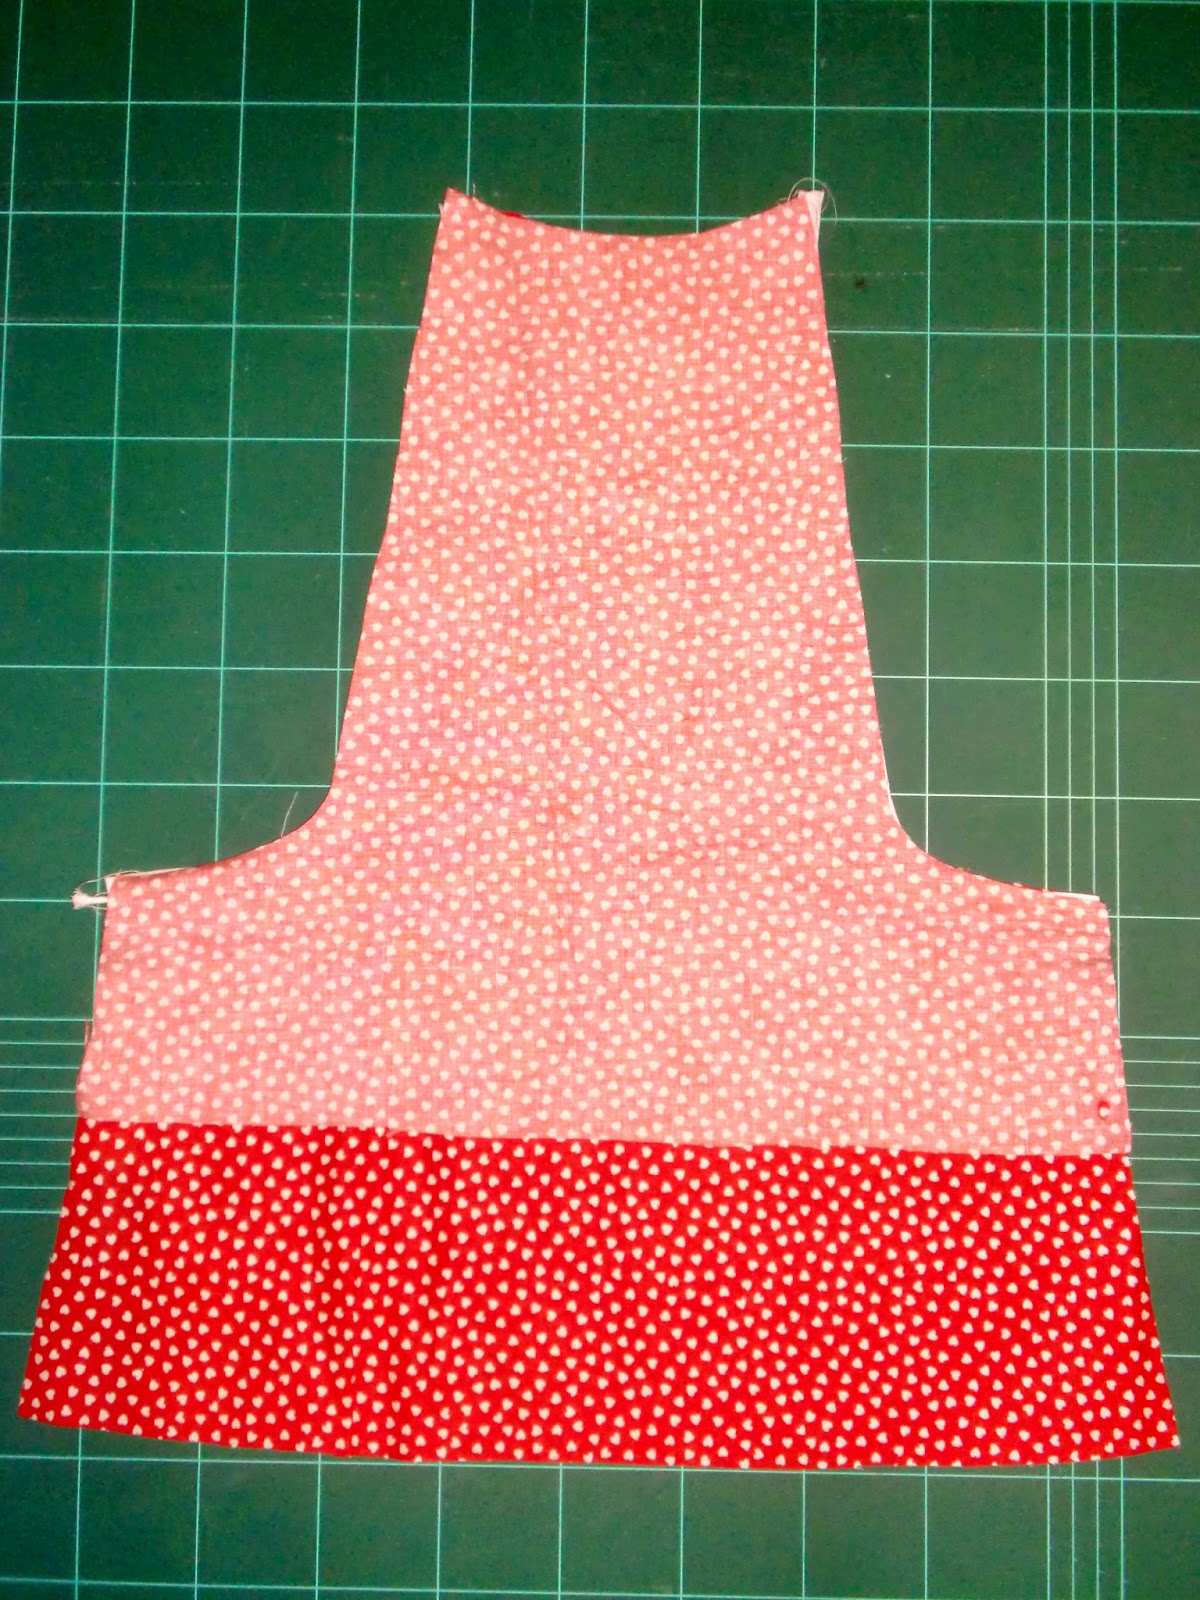
 |
| Back view |
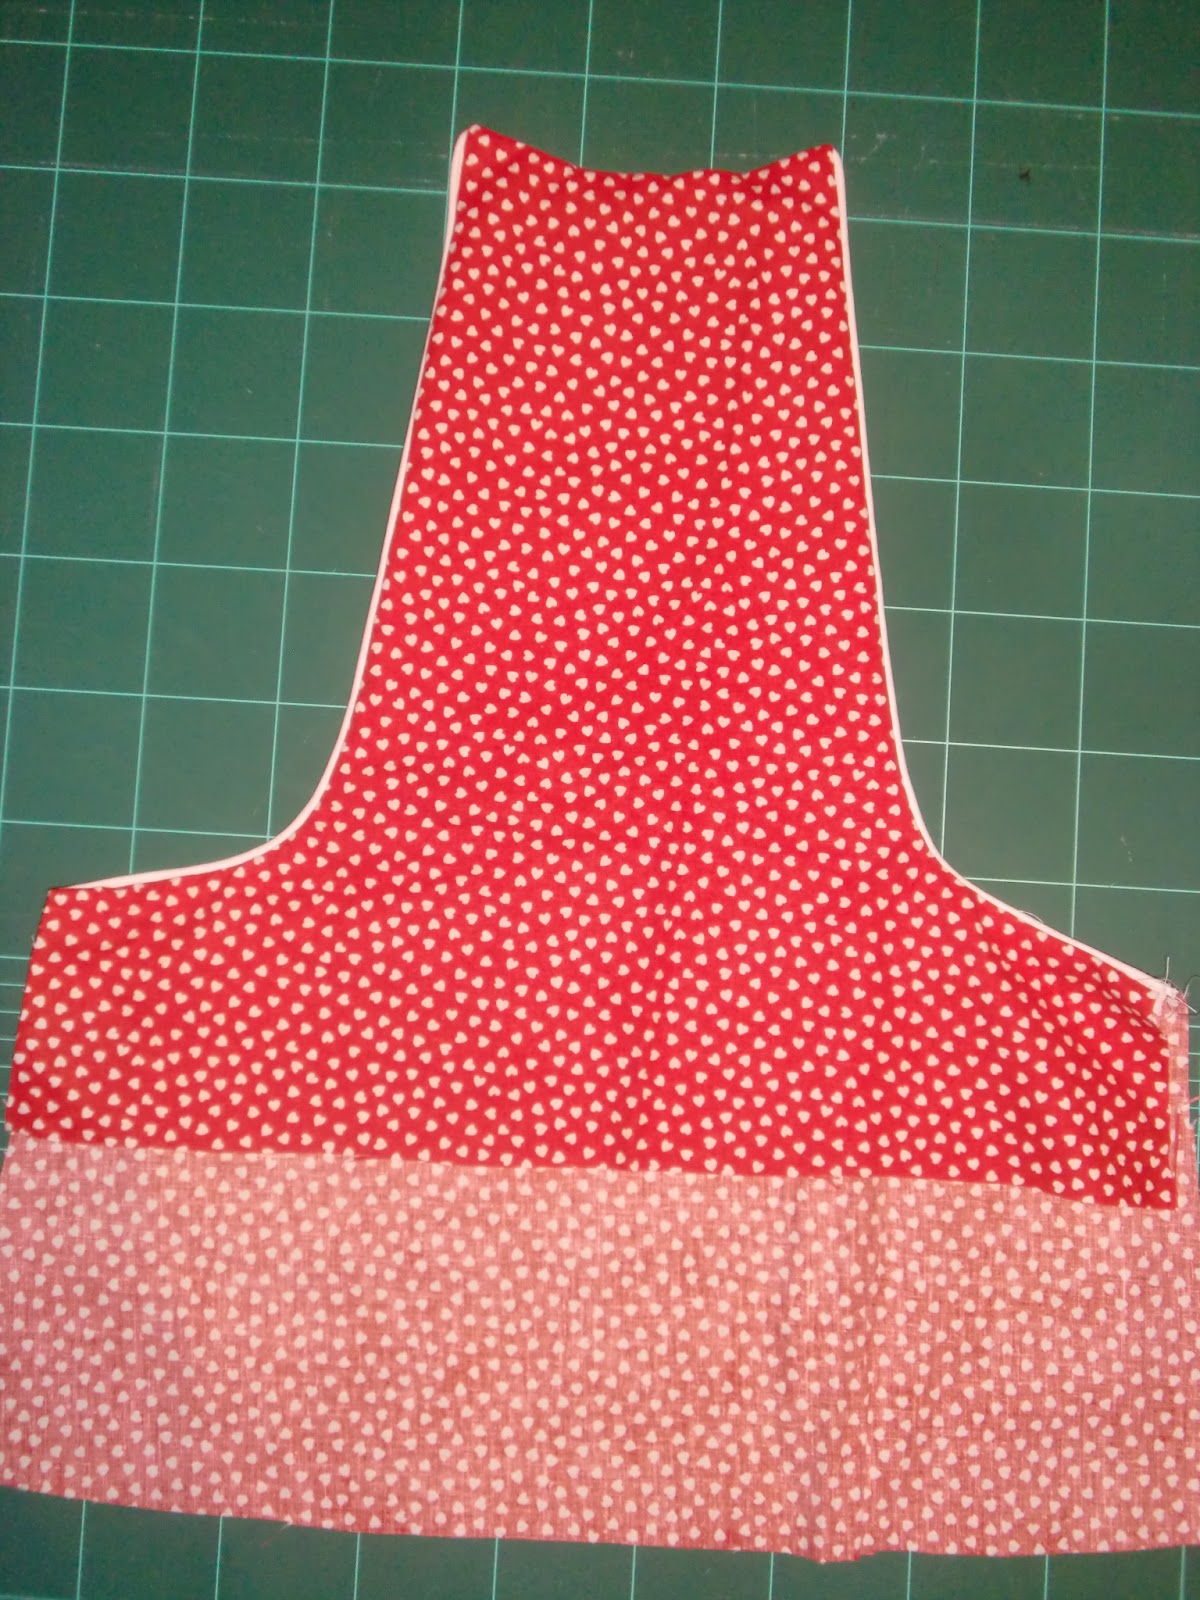
 |
| Front view |
Lay the back piece flat with right side up. Take your bodice front sides piece and lay it flat on top of the back piece, right sides together, and aligning the edges of the shoulders.
Pin shoulder edges and sew.
Iron the seams open. As this seams will be hidden under the facings, I did not bother to finish the edges, but if you chose a smaller facing width than indicated in this tutorial and part of this seam is showing, it would be better to finish the edges somehow.
Take the pieces for the front and back facings and place one on top of the other by matching the edges of the shoulders, with the right sides together. Pin shoulder edges:
Sew shoulder seams and iron them open. Again, this seams will be hidden so there's no need to finish the edges. The finished facings should look as follows:
Now, finish all the outer edge with a zigzag stitch or overlock.
- sewing the facing to the dress
Lay the dress open flat, with right side up, and lay the facing you've sewn before on top of it with right sides together. Try to match as better as possible the inner edges of the facing and dress opening:
Pin well and sew.
Clip seam allowances at corners and rounded edges, such as back neckline:
Turn right side out and press well. Pay special atterntion to the corners to get sharp edges.
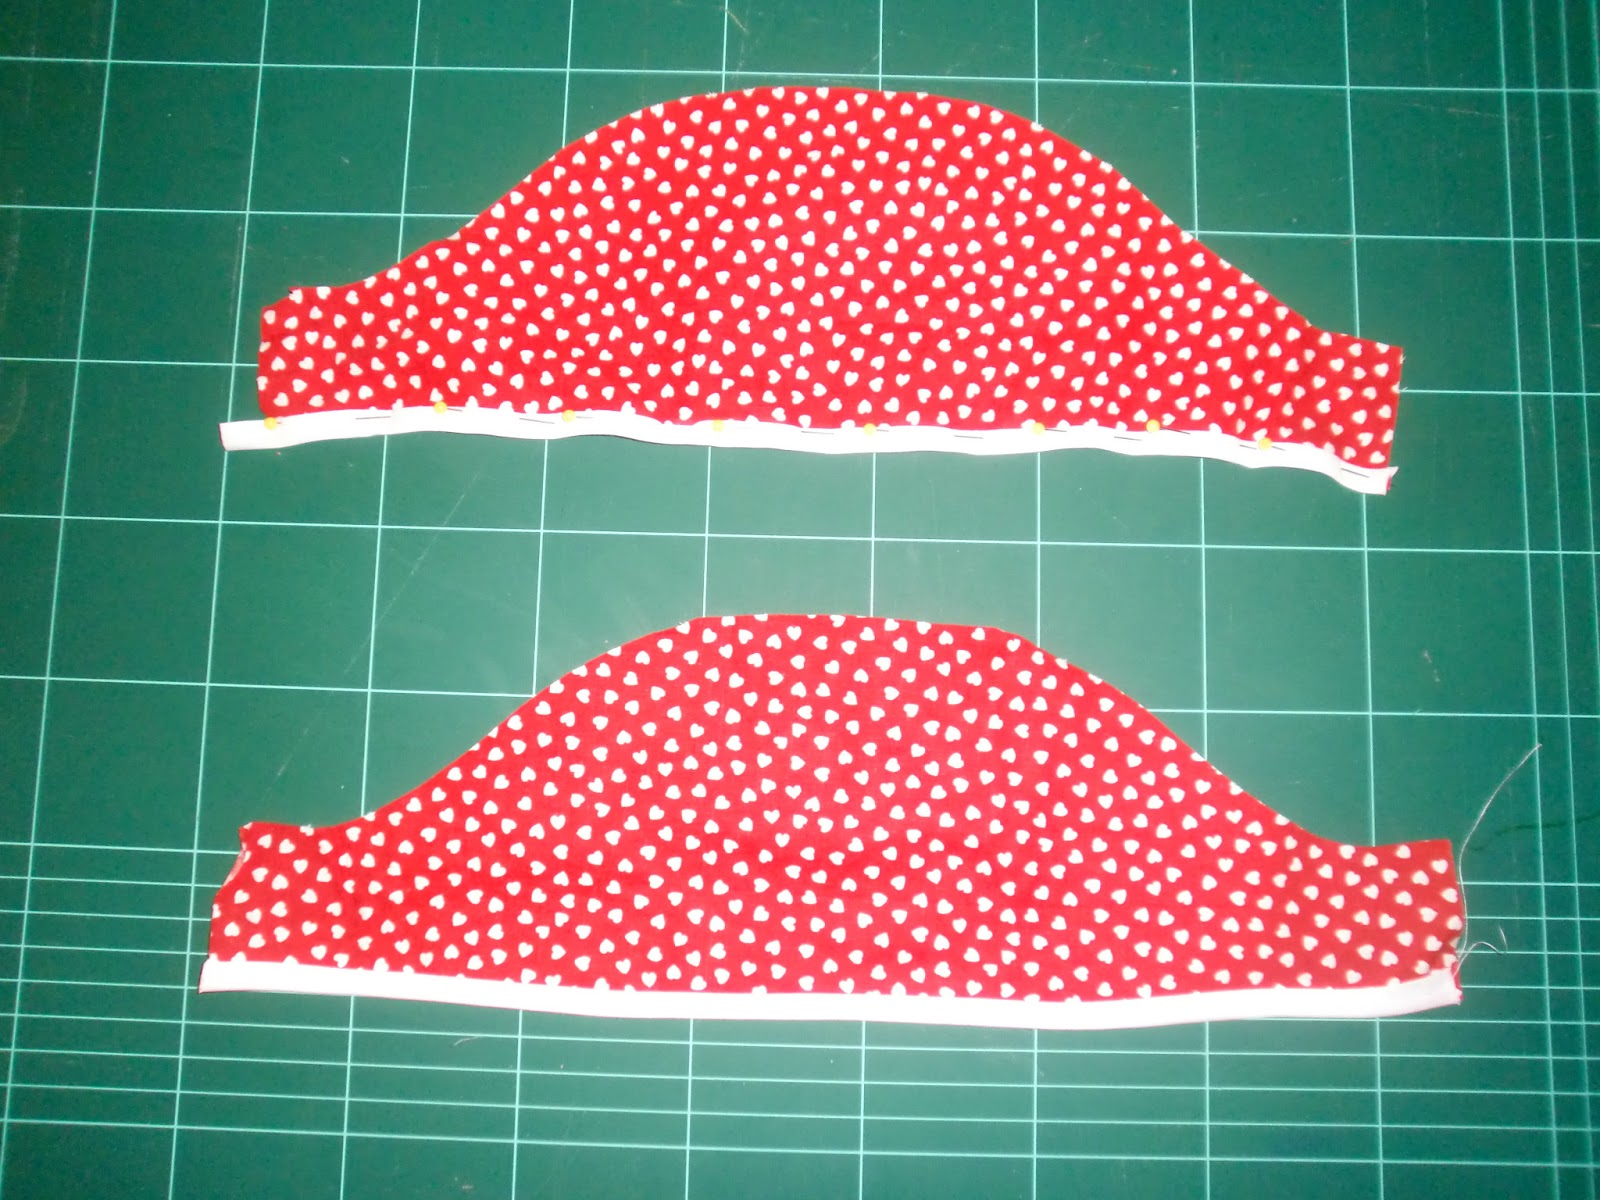
Sew the bias tape to the straight edge of sleeves. This step can be done, and the results are much better, once the sleeves and dress sideseams are done. I like to do it this way because it is faster and easier(and I'm a VERY impatient sewer!).
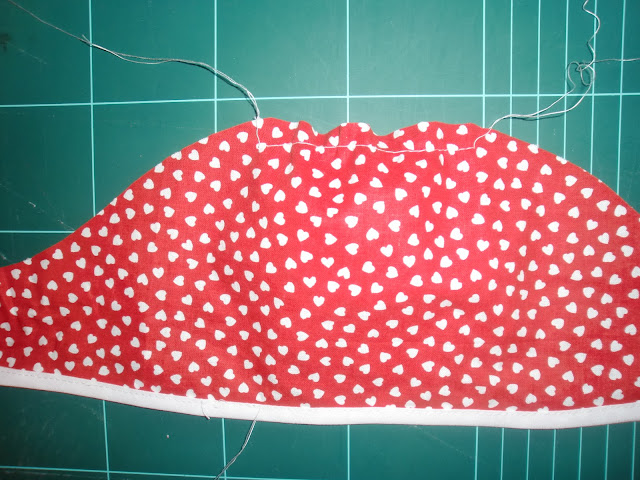
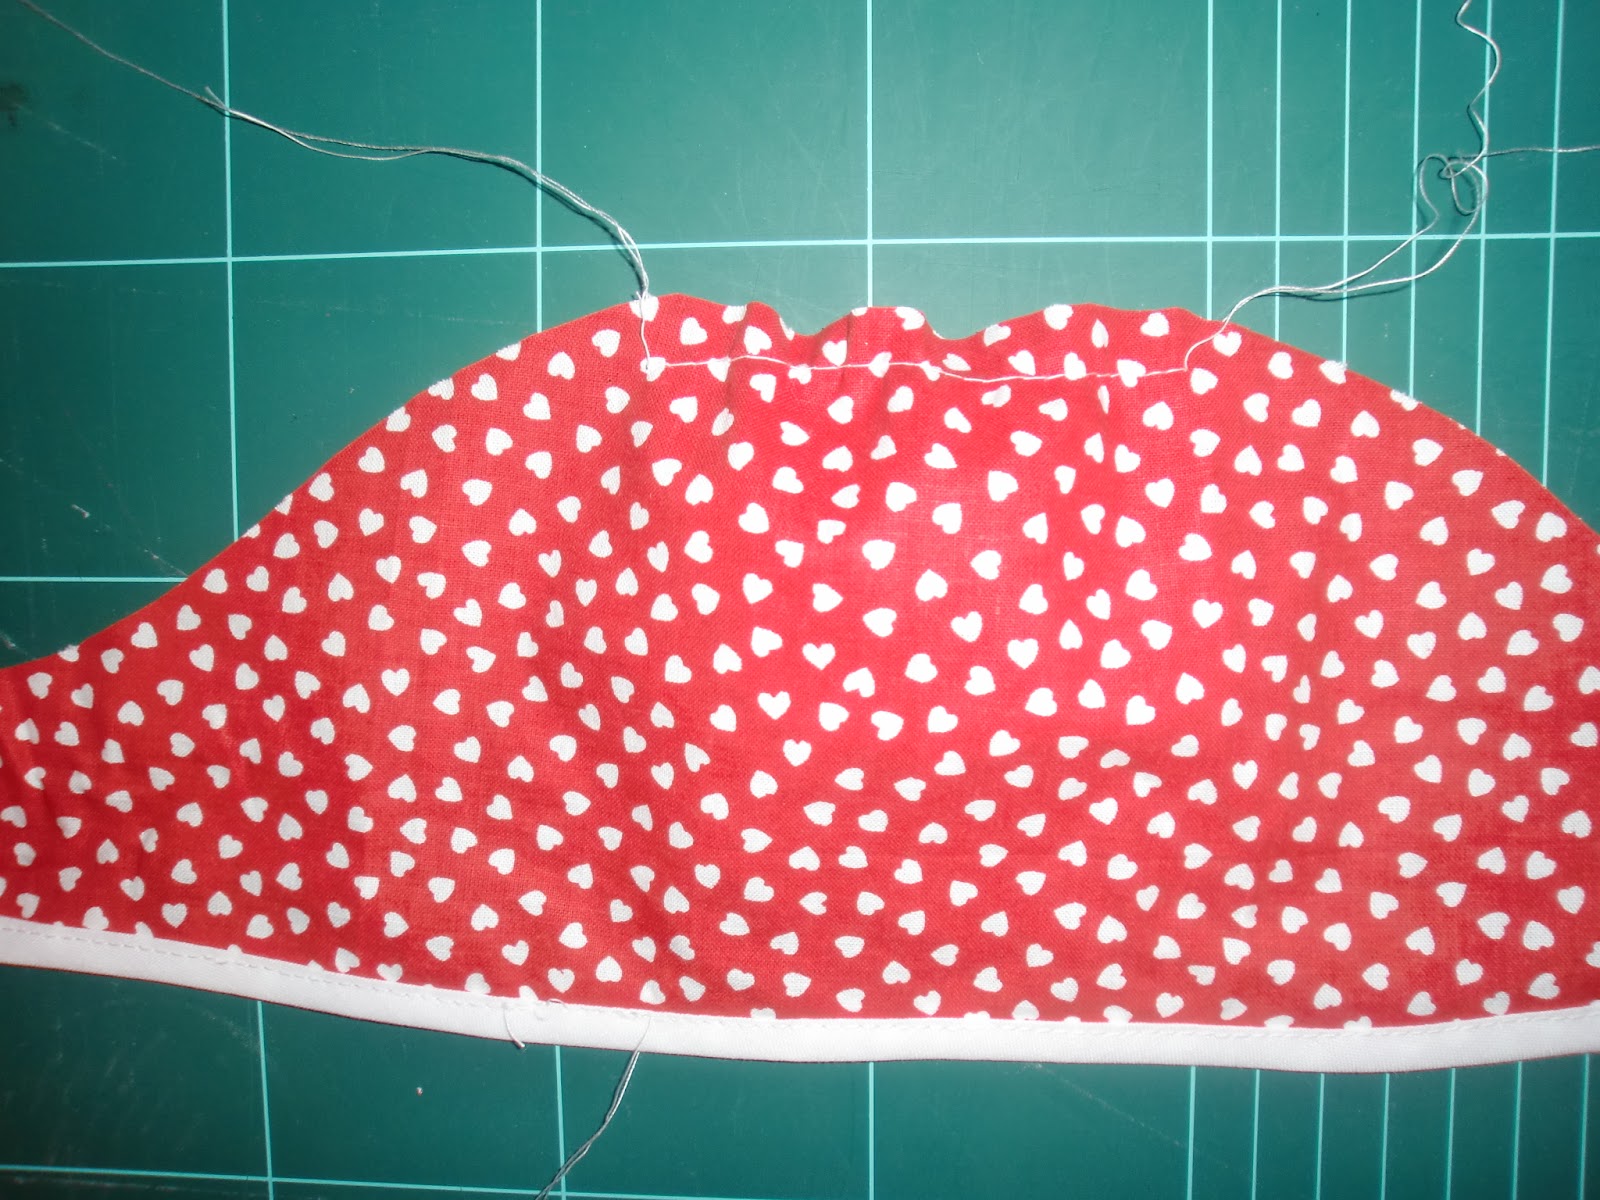
now gather the top of the sleeves, just the central part, as in the picture:
place one sleeve on top of the open dress, right sides together. You have to match the raw edges of both the sleeve and the dress as better as possible and pin them together. I like to start pinning at both ends of the sleeves (where they match the armscye) towards the center until there are about 1" left to every side of the shoulder seam. Then I adjust the gathers of the sleeve to fit in those 2". By doing it this way you obtain a sleeve which is deeply gathered in a small spot. If you preffer to have your gathers evenly spaced all around the sleeve, then you have to gather the edge of your sleeve evenly prior to pinning it to the dress. Does that make sense?
Sew and repeat for the other sleeve.
- sewing the flap and the bodice front sides together
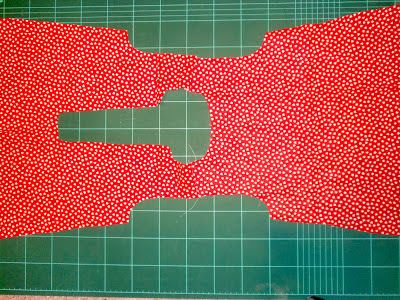
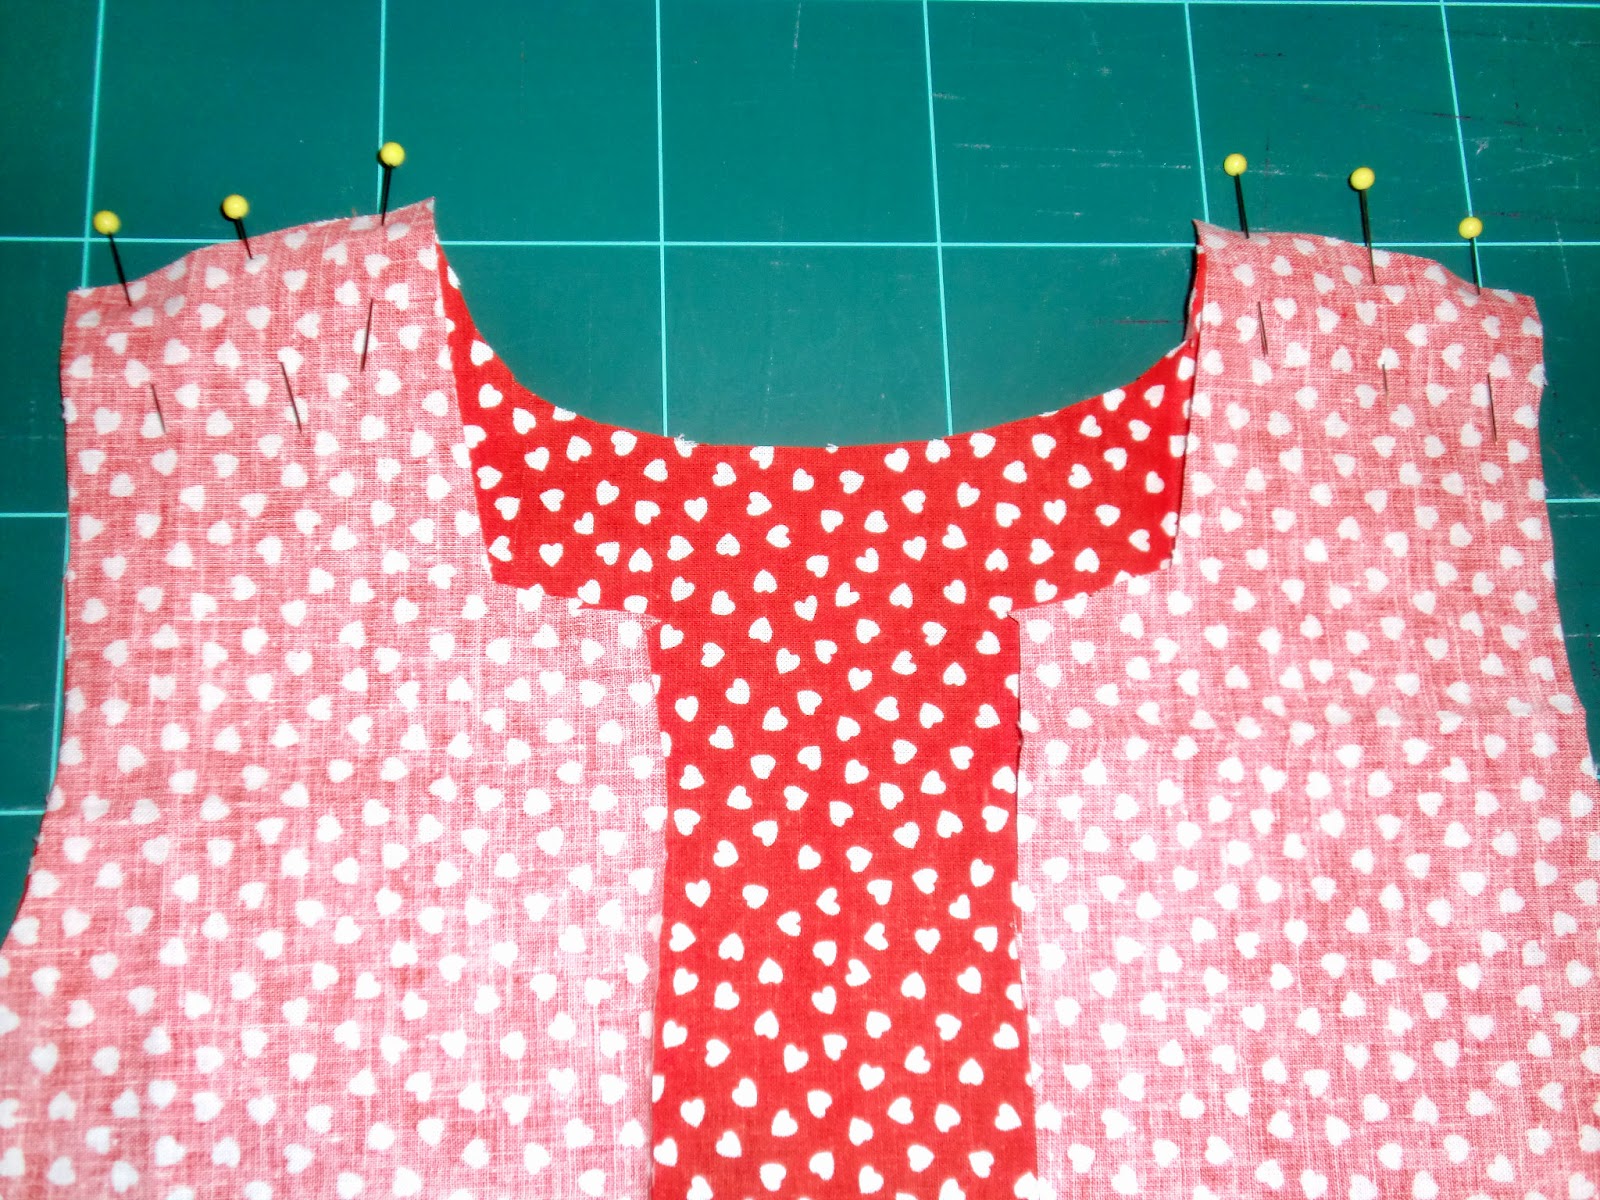
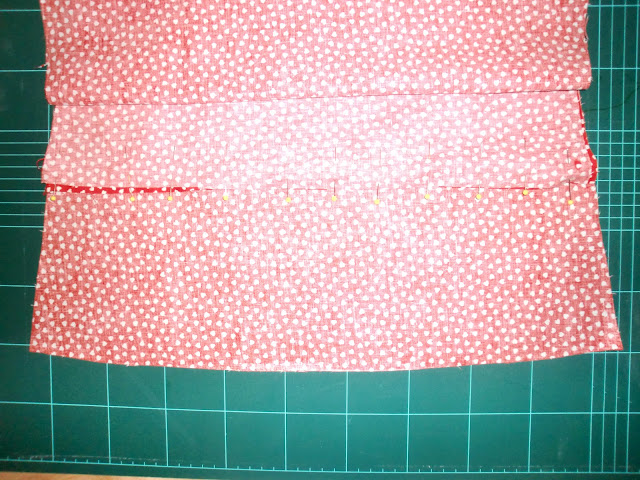
Place the dress pieces as in the photo, with the right sides of the fabric out and matching the sides of both front and back and the armscye seams.
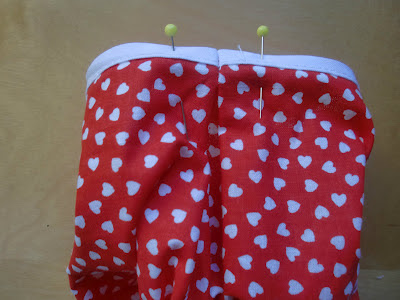
Place the flap piece on top, matching both side edges and paying special attention to the position of the neckline. It must be centered and even with the front sides piece neckline. Pin the upper part of the flap to the bodice sides to prevent it from moving while sewing the sides. We want it in the right position!
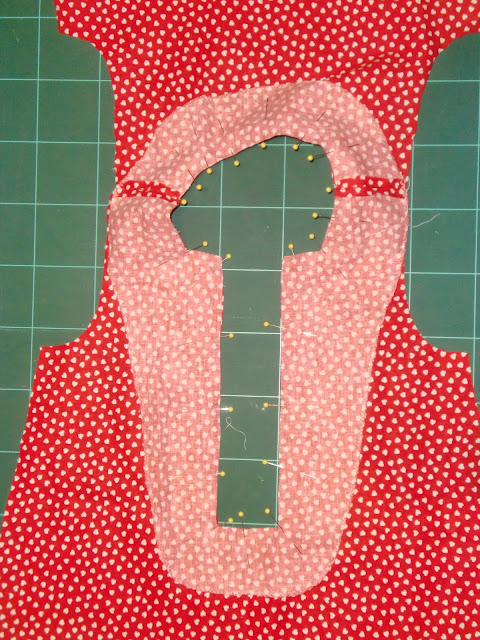
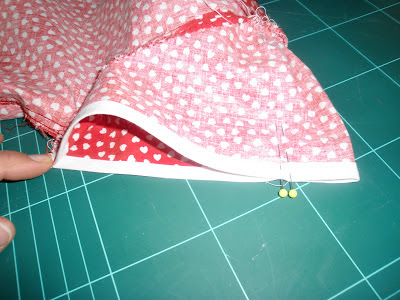
Now pin the sides between the armscye up to about 2" under the piping, leaving the bottom part unpinned.
Lift the bottom part of the flap piece and match the bottom edge of the flap facing with the bottom edge of the front sides piece (see the arrows in the picture below to understand what I mean). Pin. This is going to be the bottom of the pockets, so don't worry if it doesn't match perfect. You can even trim it to make it match if you preffer.
Sew the bottom of the pocket and finish the seam allowances as you preffer (zig-zag, overlock, bias tape).
Now pin and baste the sides of the flap piece and the front sides piece together, just to make sure they are in the right position while sewing the side seams. Be careful not to baste the back piece to the front pieces!
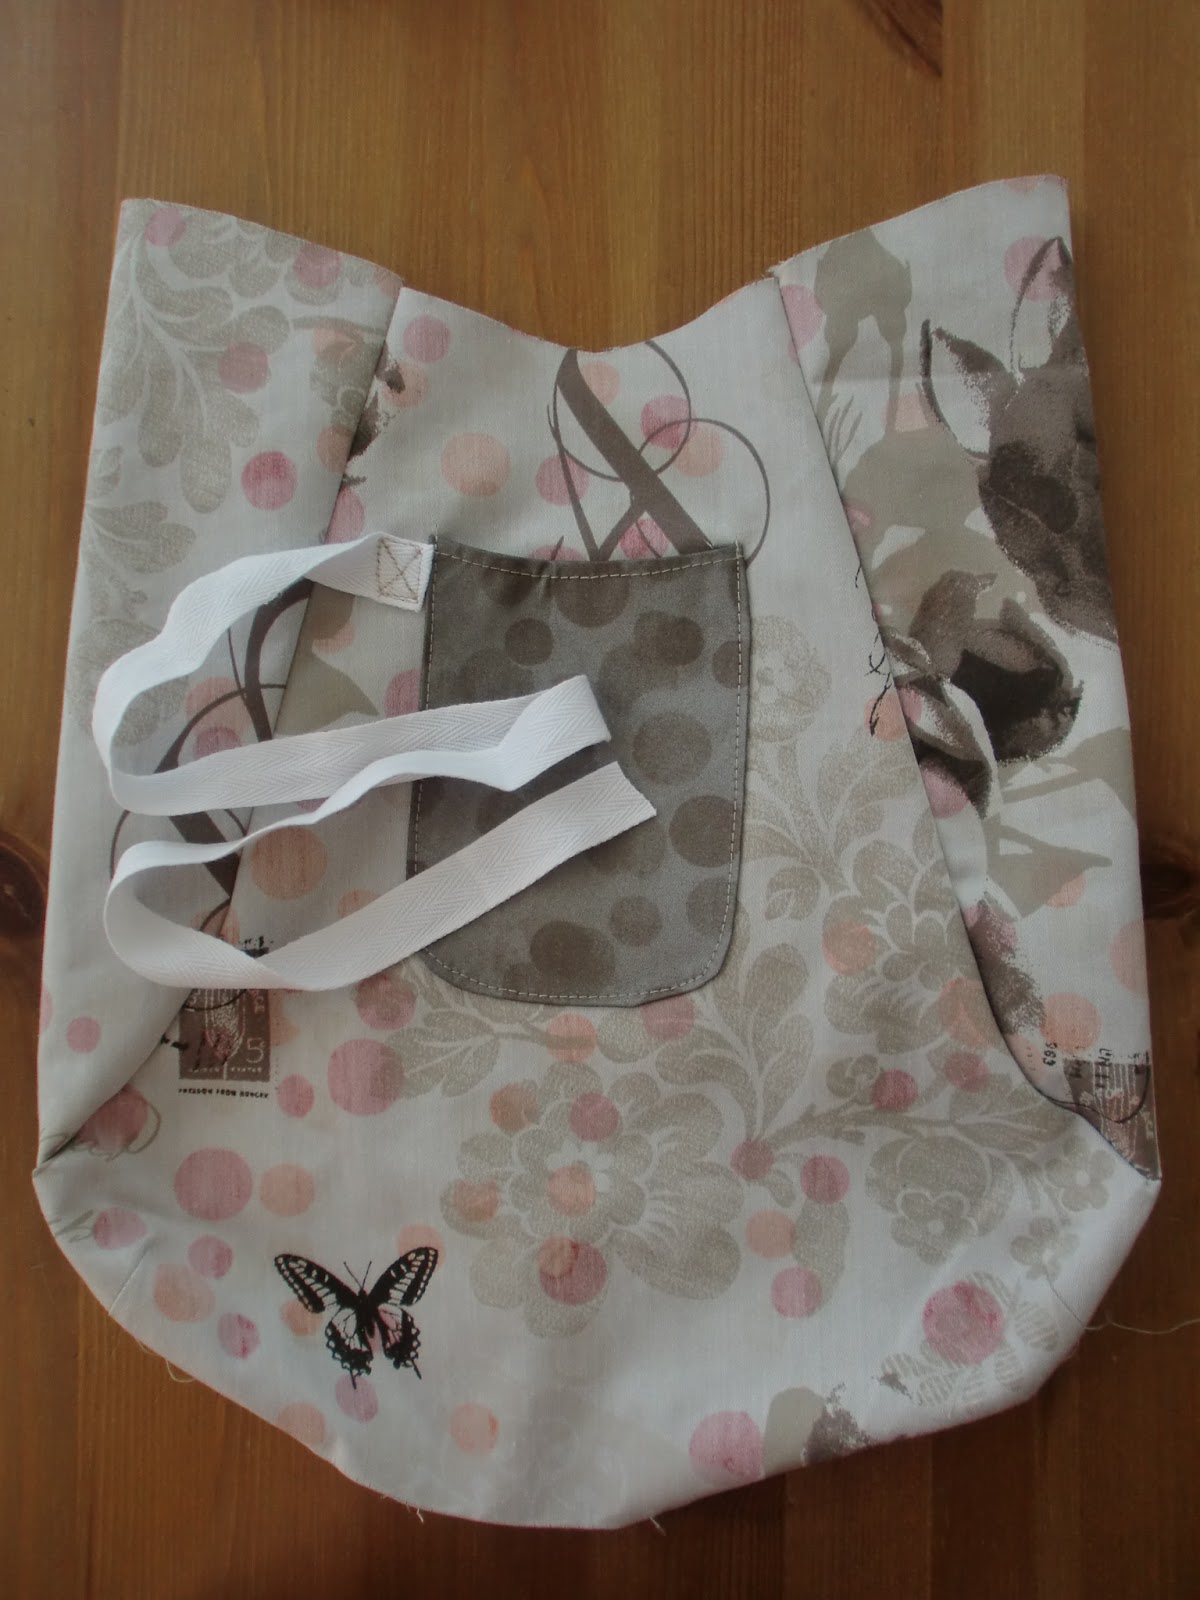
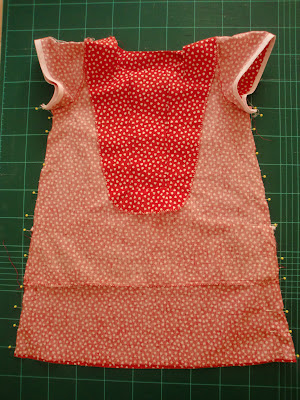
You should have something similar to this:
Fold the dress to match back and front pieces, with right sides together. Pin both side edges from bottom up to the sleeve edges, matching front and back armscye seams.
Sew the sides from bottom edge up to the end of the sleeves, pivoting when you reach the armscye seams. Repeat with the other side of the dress. Press the seams open and finish your seam allowances with a zig-zag stitch or a serger.
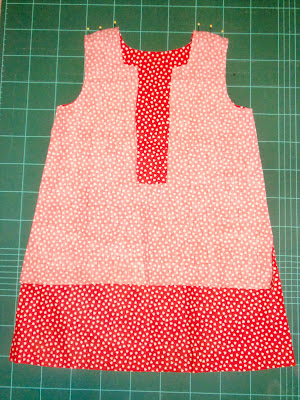
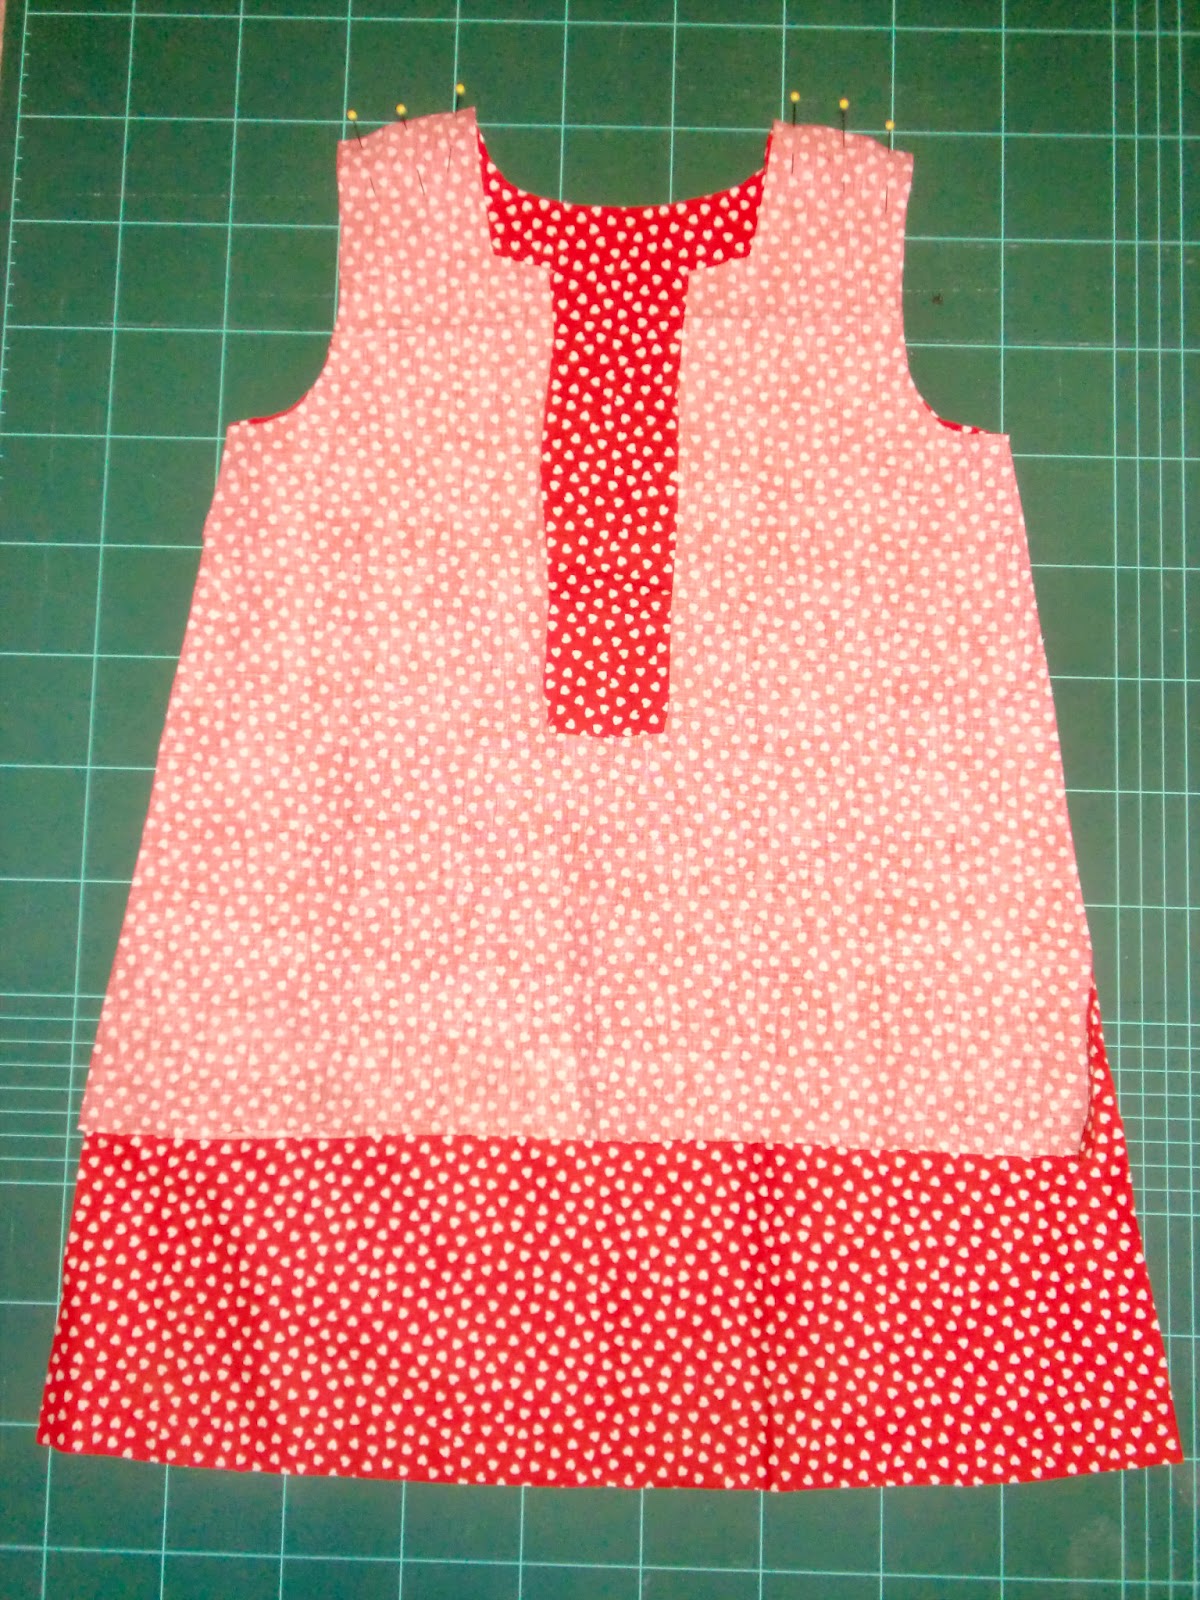
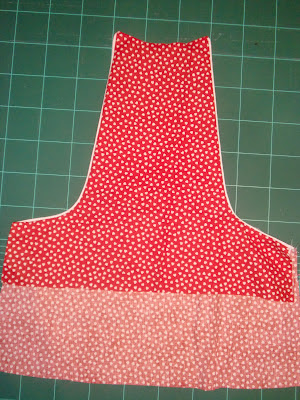
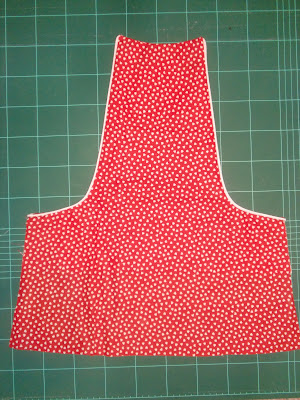
Turn your dress right side out. You should have something similar to the photo below. Yeah, that looks like a dress!
Maybe your front or back of the dress is longer, now it's time to solve it. Trim the longer side to match the lenght of the shorter one, so both, front and back, are the same length.
Now sew in the bias tape to the bottom edge of the dress. If you don't like the look of the binding, you can also hem the bottom as usual by folding the edge 1/2" towards the wrong side, and then fold another 1/2", press well and sew.
I forgot to take a photo for this step, sorry!
- sewing the sleeve pleat and button (optional).
Try the dress on your girl. If you like the sleeves you can skip this step. Since I didn't like how full looked the sleeves, I decided to reduce the bulk of them.
I'm very lazy so I wanted a quick fix for the sleeve problem so I simply added a pleat at the bottom edge of it, and sewed a button to hold it. Let's see it step by step.
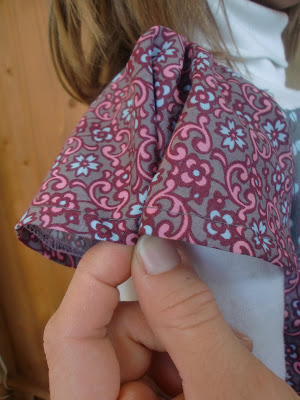
wWth the dress on your girl, pinch the sleeve to be the width you like and trying to make it look centered on her arm; see the photo below to understand what I mean (the following photos are from a different dress, but they'll work to show the process):
hold it with a safety pin and take the dress off your model.
Have a close look at the photo below; see how the pleat is not centered? Now we have to mark the same location and width for the pleat on the other sleeve.
To make it, lay the shortest part of the sleeve flat (with wrong side of the dress out). Replace the safety pin with a pin. This is where you're going to sew your pleat later. Now, lay the other sleeve flat next to the first one and mark the fold of the pleat and the location of the pin, that is, the point where you have to stitch to make the pleat. This is not a very accurate method, but it works, and is easy and fast!
Sew your pleats.
I did a very short seam, but you can make it longer if you preffer. The pleat will look different depending on the length of this seam.
Turn the dress right side out.
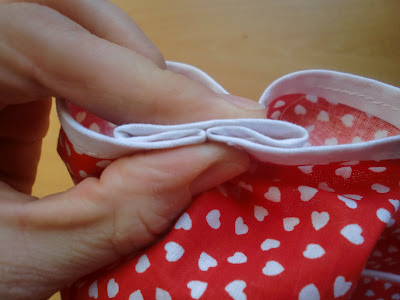
Now lay the fabric inside of the pleat flat and centered.
Pin
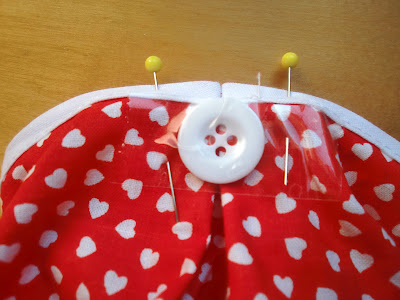
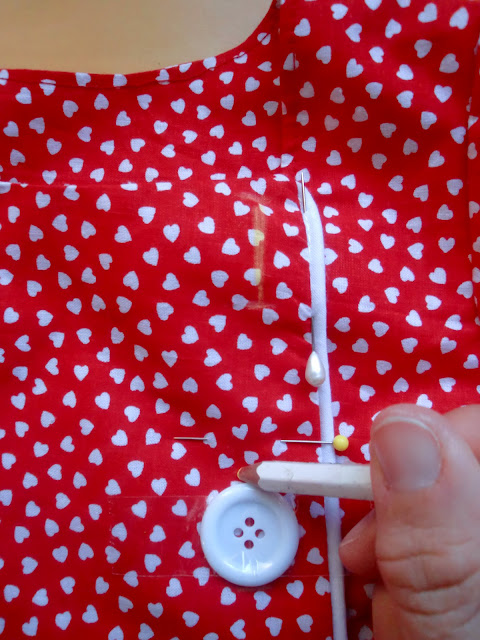
Sew a decorative button on top of the seam ( that also holds the inside pleat fabric in place).
I know, it would be better to hold the inside pleat fabric stitching it in place, but as I told you before, I'm lazy and love easy and fast solutions!
perhaps you've noticed in the photo above that holding the button is a piece of tape. I tried a technique I read somewhere (sorry, but I do not remember where) that consists in holding the button with some tape and then sewing it with your machine. Once the stitching is done, remove the tape and you're done! I recommend it! The button stays in place while you sew it and once finished the tape is removed without any problem. No more slipping buttons under your presser foot! No more buttons out of place!
- Making buttonholes and sewing the buttons
Next, place the buttons on the dress the way you like it. Try different arrangements and different amount of buttons before you decide. I used 10 buttons, evenly distributed along the edge of the flap. Only the 4 on the top make its function as a button and have a buttonhole, the rest are merely decorative (but also help to hold the facing in place). As you can see in the photo below I used again some tape to hold the buttons in place.
with a disappearing ink pen or chalk mark the placement of the buttonholes for the top 4 buttons.
Remove the top 4 buttons and make the buttonholes.
Now go and sew the buttons!
Pay attention to where you sew them . If you plan to place them like mine take into account that the 2 buttons that are at the height of the pocket curve have only been sewed to the flap fabric, the four top buttons, obviously, are only sewed to the the bodice front sides fabric and the intermediate 4 buttons are sewed to both the flap and the bodice front sides fabrics (I mean that when you sew the button your needle must go through both the flap and the bodice front sides fabrics; this way the flap is held in place). We thus obtain an opening wide enough for the head.
FINISSSSSSHED!
I hope you enjoyed it!
If someone needs help and / or clarification, you know: just make a cyber shout! (= Leave a comment or write me an email to mj.bestard @ gmail.com)
HAVE A NICE SUMMER! (or what's left of it...)