
As I promised, the AINA SHIRT tutorial is here:
L'he separat en dues parts:
I've broken it into two parts
Aina shirt tutorial PART 1: constructing the pattern
Aina shirt tutorial PART 2: sewing the shirt (available on the 9th of June)
NOTE: The tutorial is colmpletely FREE, well, not really, I would ask in exchange your help to improve it. If you find spelling or grammar mistakes and/or weird sentences or words, PLEASE let me know. Just leave a comment or e-mail me with your suggestions. I'll try to update the tutorial to make it better as soon as possible. This way you help others to understand it better and you help me to improve my english, which I' really need A LOT!!! Your help is really appreciated!
La segona part la tendreu a punt el 9 de juny. I perquè tan tard? Doncs perquè a partir d'aquest dia i durant només una setmana a la botiga etsy de Heidi and Finn tindreu un súper oferta per a comprar els seus patrons.
Part 2 will be available the 9th of june. Why so late? Because from that date and during 1 week you'll have a super-offer at Heidi and Finn etsy shop.
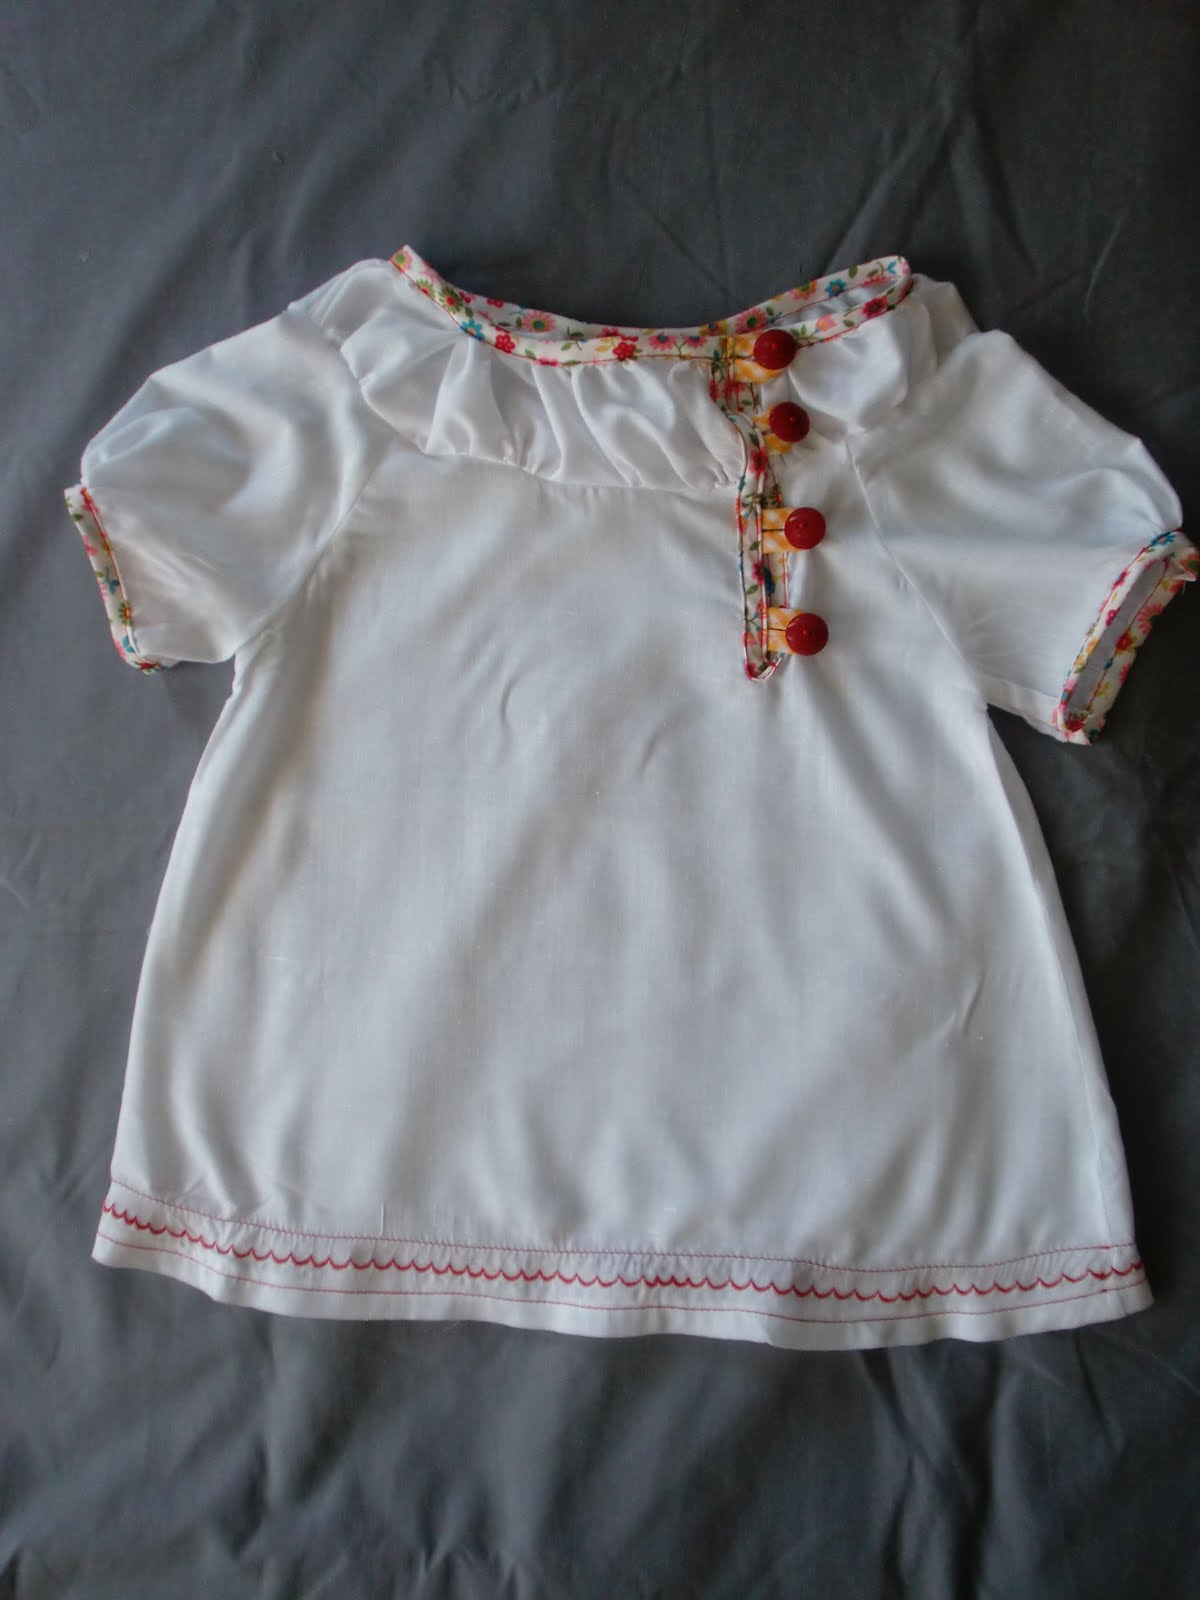
I aquí teniu la que en realitat va ser la primera camisa basada en aquest patró, però que la meva filla no es vol posar perquè diu que "pica" . És un a llàstima perquè tenia un look hippy que m'encantava, tot i que també he de dir que la tela era complicadeta de cosir perquè s'esfilagarsava tota i era molt difícil de manejar.
Here is what was indeed the first shirt I sewed using this pattern, but my daughter doesn't want to wear it because she says it scratches :(. It's a pity since I loved the hippy look of it, though I must say it was a nightmare to sew (it unraveled a lot and was very difficult to hold in place).

El coll em va quedar massa ample i està encara sense acabar les mànigues ni el doblec de baix
The neckline is too wide and I haven't finished the hem, nor the sleeves edges.
PS: I must thank Jess from peanut to princess for the inspiration. Have a look on how she obtains the bodice piece of this dress ;).
Also want to thank Jessica from me sew crazy for her pattern remix series which I find sooooo inpiring. Without it I'd never dared to make a tutorial for a pattern alteration.
Thank you and enjoy!
This shirt is lovely! I can't wait to see part 2! I am your newest follower. I would love it if you came over to Greetings From the Asylum and followed me too!
ResponEliminaVery sweet! Perfect for the summer!
ResponEliminaThanks for linking up to Making It With Allie! I can't wait to see what you have for next week!
AllieMakes.Blogspot.com
Help in improving the tutorial? I am speechless.
ResponElimina